
Autoconnect to eduroam during Linux bootstrapping
01 Jan 2022A common chicken-and-egg situation is connecting to institute WiFi during a minimal Linux installation. To download the tools you’re familiar with using, you need to have internet access. Secure networks, specifically 8021.X compliant ones, are notoriously difficult to configure from CLI because CLI authenticators are far behind their GUI counterparts in terms of automation. Even looking up advice from a second device yields opaque copy-and-paste commands and contradictory information. However, the process is quite straightforward once you sift through the mountains of information. It boils down to 5 steps.
1. Identify the network’s protocols
This information comes from the institute’s IT page, or more easily from Reddit. The network I’m going to be focusing on, eduroam, uses the following 3 protocols:
- WPA2-Enterprise: WiFi Protected Access 2 is a network security protocol that requires users to authenticate with a username + password before granting access. It specifies a 2-phase method to get on the same page about the pre-shared key (PSK).
- PEAP: Extensible Authentication Protocol (EAP) is a set of common functions and negotiation mechanisms to select the authentication method between client and server. Protected EAP (PEAP) first establishing a TLS tunnel to ensure the client credentials (username + password) are securely sent. This is the first phase.
- MSCHAPV2: A “challenge-handshake” authentication protocol commonly used with PEAP. After the server receives the client’s password, it sends a random number to the client, called the challenge. The client hashes their password and random number together, and sends the result back to the server. The server compares this with it’s own answer, and if they match, the authentication process is finally done. This is the second phase.
2. Identify available tools
Installation boot images come with barebones programs to save disk space. To make it worse, the programs you have after reboot are probably very different from the ones you used to bootstrap the system. However, this table from ArchWiki does an excellent job telling you what components you need (rightmost columns).
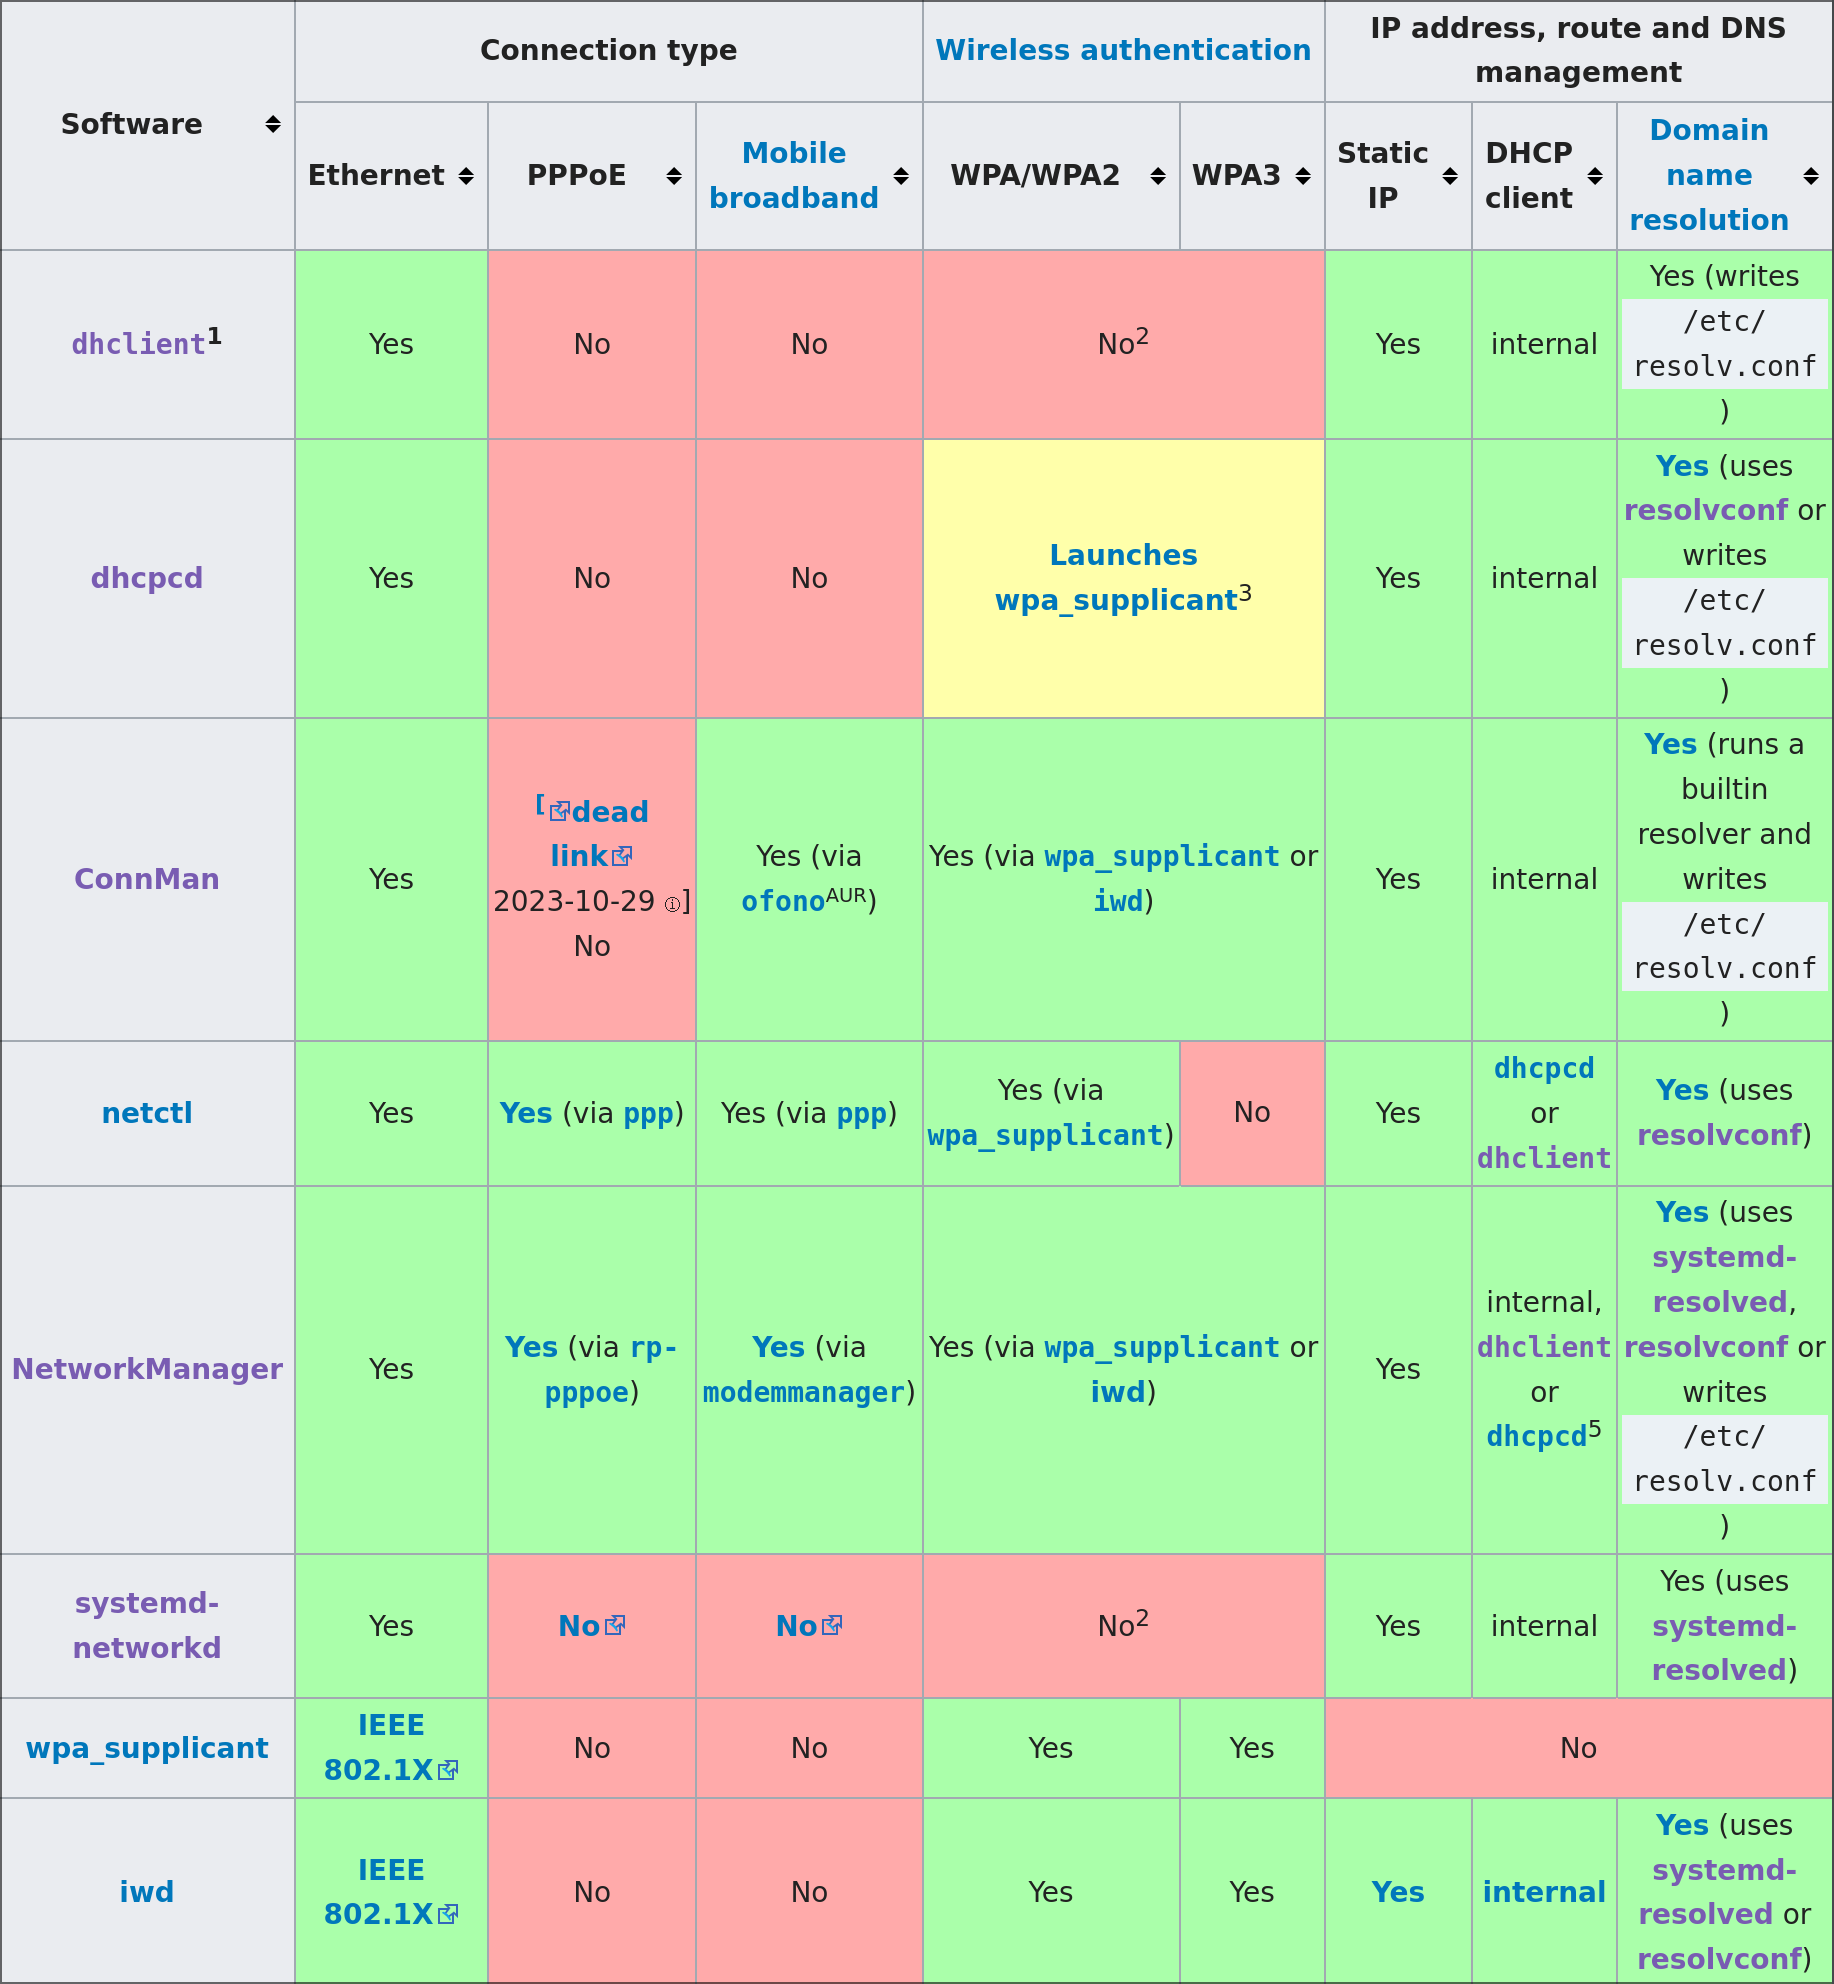
You need to choose 3 components:
- Authenticator: This program is responsible for providing credentials to a secure network. It configures the connection type (WPA2-Enterprise), and establishes network access through many protocols. There are only 2 such programs in Linux-realm: wpa_supplicant (old), and iwd (new). Network managers will use one of these two programs under the hood, and there will always be one installed.
- DHCP client: This client is responsible for implementing the client side of dynamic host configuration protocol, which is how you get assigned an IP address, reccognize the default gateway, and identify DNS servers.
- Domain name resolver: This service is responsible for accepting network requests from local applications and forwarding it to the DNS servers specified by the DHCP client.
Enable the wireless network interface
Ensure your computer’s network interface controller (NIC) has been given a name. You can find this out with the ip link command. There should be an entry that starts with wl, like wlan0 or wlp0s20f3.
3: wlan0: <BROADCAST,MULTICAST,UP,LOWER_UP> mtu 1500 qdisc noqueue state UP mode DORMANT group default qlen 1000
    link/ether 14:75:5b:62:fe:b7 brd ff:ff:ff:ff:ff:ff
If there is not, that means the kernel module for your NIC is not loaded. This can be because conflicting modules are trying to control the same hardware, or less likely, it is not installed. I had this problem for my last laptop that uses a Broadcom NIC, a company that provides notoriously bad drivers for Linux. You need to unload the conflicting open-source drivers, b43 and ssb using modprobe -r b43 ssb, and then load the proprietary broadcom-wl driver using modprobe wl. If you run into this problem during bootstrap and forget to install the broadcom-wl driver onto the nacent system, then you have to return to the installation medium.
Once your network interface is available, ensure that it is active by looking at the 3rd word in angle brackets after the interface name. If it says DOWN, then enable it with the command ip link set wl* up. Don’t worry if it says DORMANT or DOWN outside of the angle brackets.
3. Authenticate and connect
There are 2 options: wl_supplicant and iwd. Both are equally easy to configure now that we’ve identified the appropriate protocols, but it is important to make sure the program was not auto-started with a default configuration. You can can check this with ps aux | grep -E 'wpa_supplicant|iwd'. If anything came up, kill it with pkill.
Here is the wpa_supplicant configuration:
network={
  ssid="eduroam"
  scan_ssid=1
  key_mgmt=WPA-EAP
  eap=PEAP
  phase1="peaplabel=0"
  phase2="auth=MSCHAPV2"
  identity="(username)@gatech.edu"
  password="(password)"
}
To use it, use the command wpa_supplicant -B -i {network interface} -c /etc/wpa_supplicant.conf. You’ll know it’s working when it gives something along the lines of EAP initialized success in stdout. If you don’t see this specific message, then the authentication likely failed because of a typo in (username) or (password), or your network requires a CA certificate and you have your work cut out for you.
And here is the iwd configuration:
[Security]
EAP-Method=PEAP
EAP-Identity=anonymous@gatech.edu
EAP-PEAP-Phase2-Method=MSCHAPV2
EAP-PEAP-Phase2-Identity=(username)@gatech.edu
EAP-PEAP-Phase2-Password=(password)

[Settings]
AutoConnect=true
Because of the autoconnect variable, iwd should immedietely connect. If not, then use the command iwctl station {network interface} connect eduroam.
CA Certificates
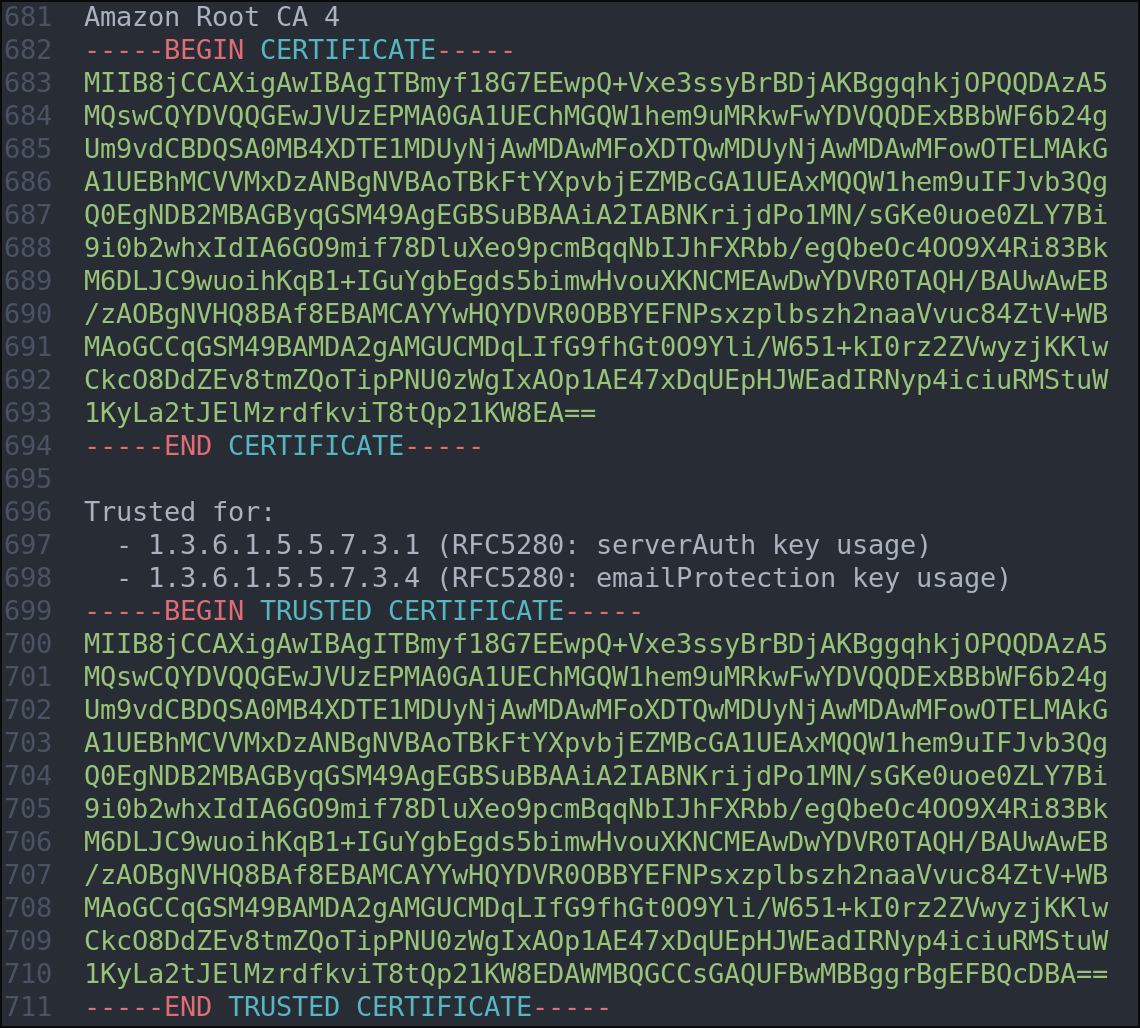
Establishing trust on the internet is an insurmountable problem because there is always some surface to attack. But we are ok blindly trusting a few organizations that vouch for the authenticity of other entities on the internet. These organizations are called certificate authorities (CA), and they establish trustworthiness on important networks through digital documents that include the CA’s public key, the server’s domain name, and most importantly, are encrypted with the CA’s private key. These are called CA certificates. On networks where authenticity is majorly important like an academic institution, clients are often required to have the certificate to connect (but this is up to the network to decide). When you try to connect to a secure network, the server will present its certificate to the client. This certificate cannot be altered or spoofed without changing the signature, meaning the domain name is authentic. The client will double check the signature to make sure the network is who they say they are.
Your OS includes a plethora of trusted CA certificates, but academic institutions often use their own CA. If you don’t have their certificate, then you have to search their IT page to download it from another computer, put it on a flash drive, transfer it onto your bootstrapping computer, and let wpa_supplicant or iwd know about it. Luckily, Georgia Tech does not require a client-side CA certificate, so we can move on to the next step.
4. Get an IP address
There are 5 options: NetworkManager, ConnMan, iwd, systemd-networkd, and dhcpcd. The first 3 are bigger network managers that also bundle a DHCP cilent, and the last 2 are standalone clients. For the network managers, you will need to make a profile for the network before connecting. For dhcpcd, simply run it on your network interface with dhcpcd -i {interface}. I believe iwd is the best option because it provides authentication and DHCP in one package, while being more efficiently written than the other options through kernel feature utilization, which is good news for battery life. Whatever choice you make, just start it in the background with systemctl enable --now, and use the provided CLI to select your network ssid if it didn’t autoconnect.
5. Get domain name resolution
There are only 2 options for a DNS stub resolver: systemd-resolved and resolvconf. The former is ubiquitous, and the latter is for anti-systemd users. There is really no setup: all you have to do is ensure the process is running in the background, with systemctl enable --now or resolvconf &.
Introducing: wpaconnect
I wrote a shell script that automates exactly these steps. This is very useful for distro-hoppers who don’t want to waste hours getting the authentication configs right, or if this is your first time installing an “advanced” Linux distro and had the rude awakening that old software is not friendly. You can find usage information at the GitHub repo.
[^1] Unless you really messed up and completely forgot to install any networking software during bootstrap. In this case, you need to go back into the installation environment and bootstrap the appropriate programs.